


1. Refund Invoice
Description –
Admin User can issue Refund for a Paid Product. The steps to do the same are mentioned below.
- Login to the Admin site.
- Click Paid under Invoice tab.
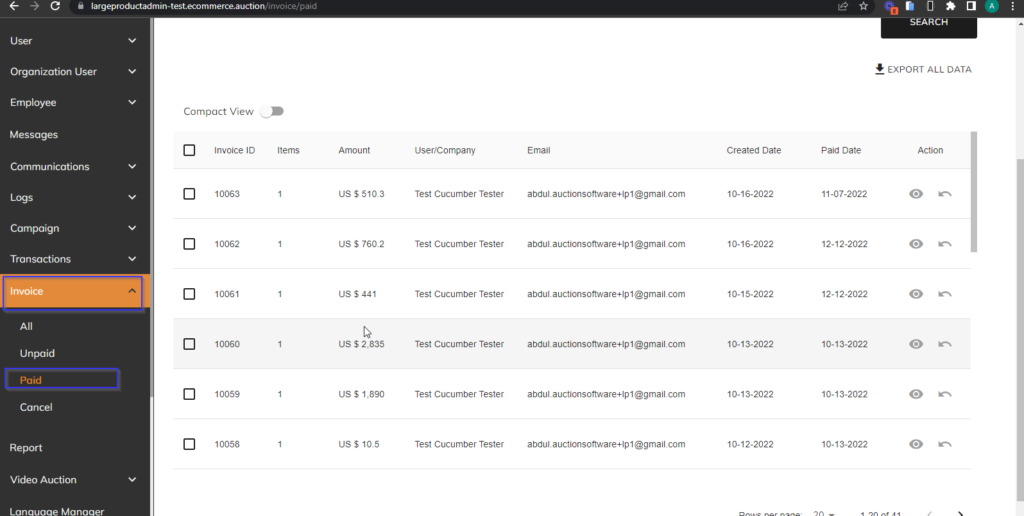
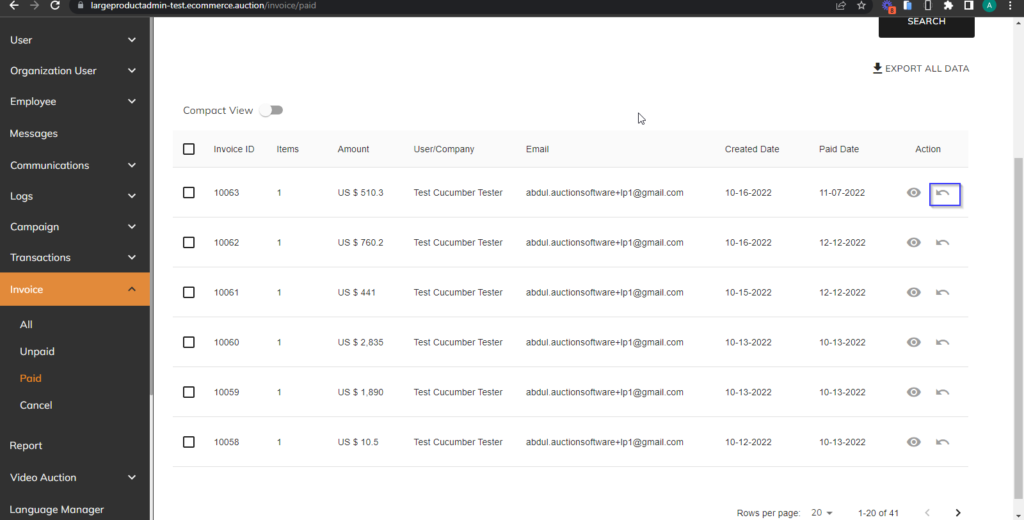
Click the Refund icon in the data table.
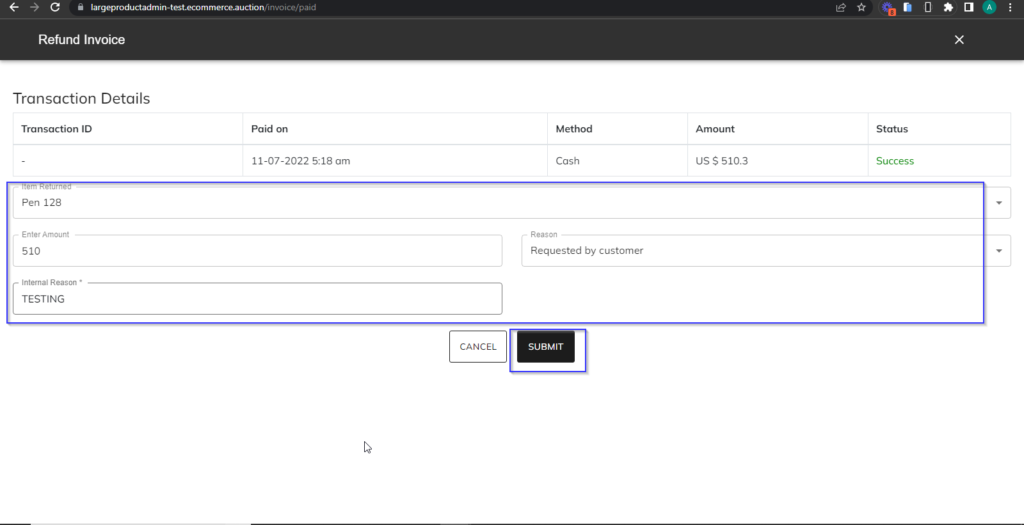
Admin User needs to fill the required fields.
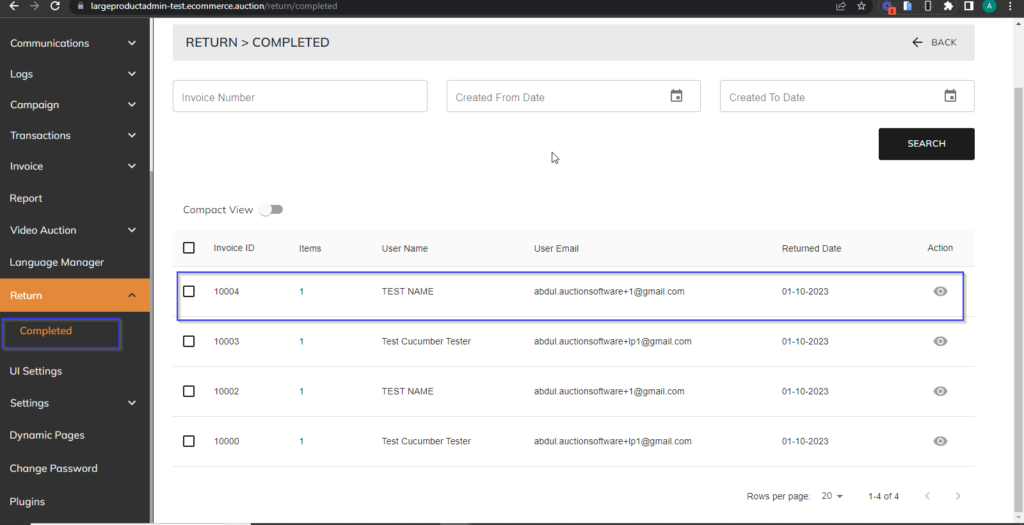
The respective Refunded Invoice will display under Return -> Completed tab.
2. Customer tab
Description –
Admin User can view and edit details like Profile, Invoice, Notification and Credits. Also, can view Mail Logs, SMS Logs, Login Info and add some Notes for the User.
- Click the User Tab and click the edit Icon.
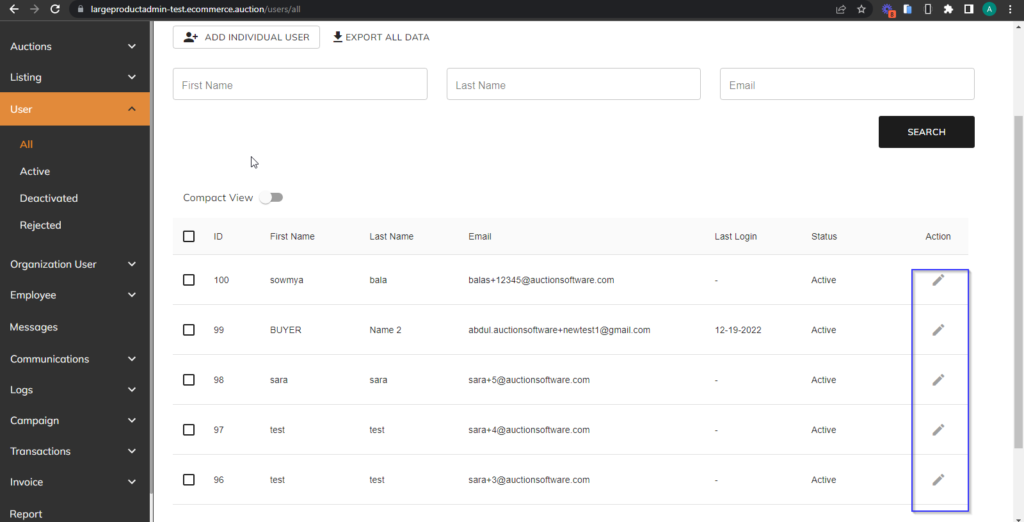
Admin User can edit all details of the respective User.
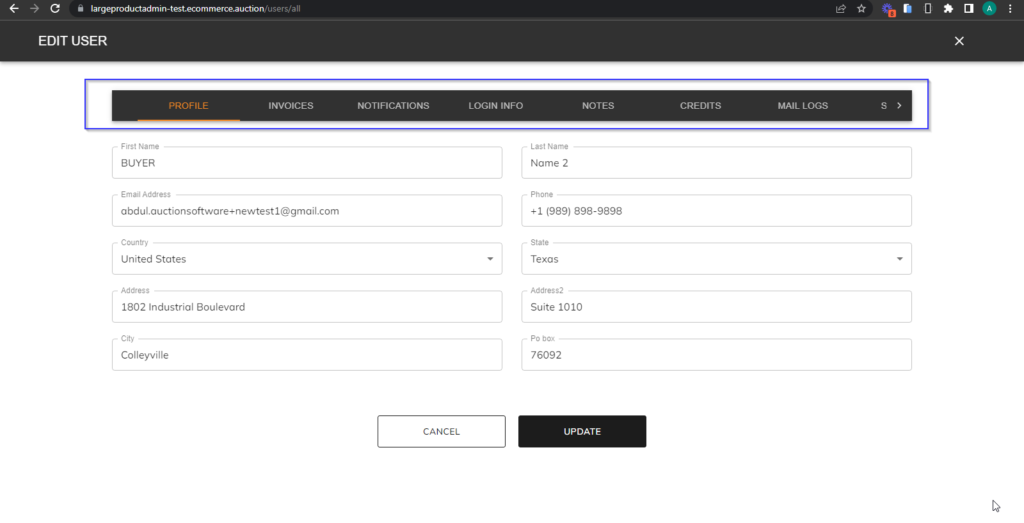
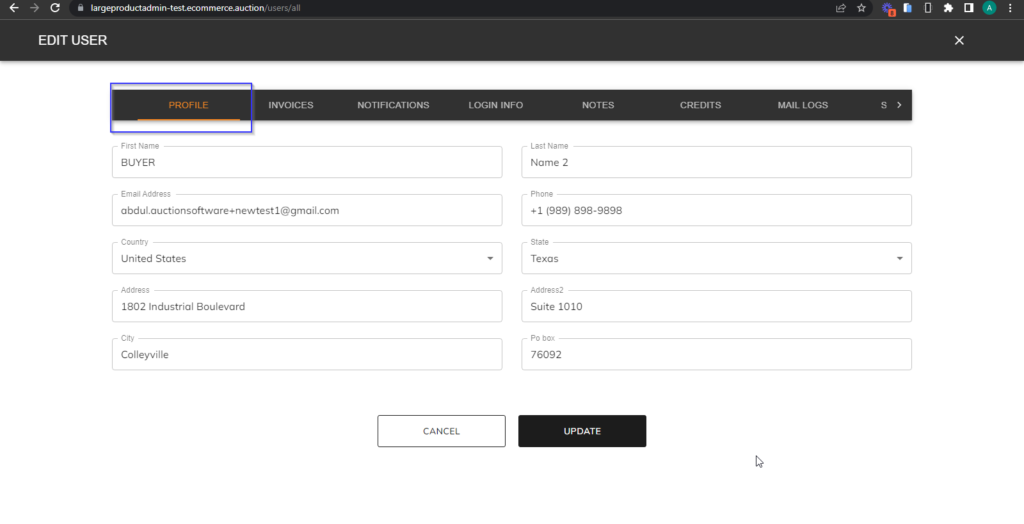
Profile – Admin can edit and update the User’s Profile details.
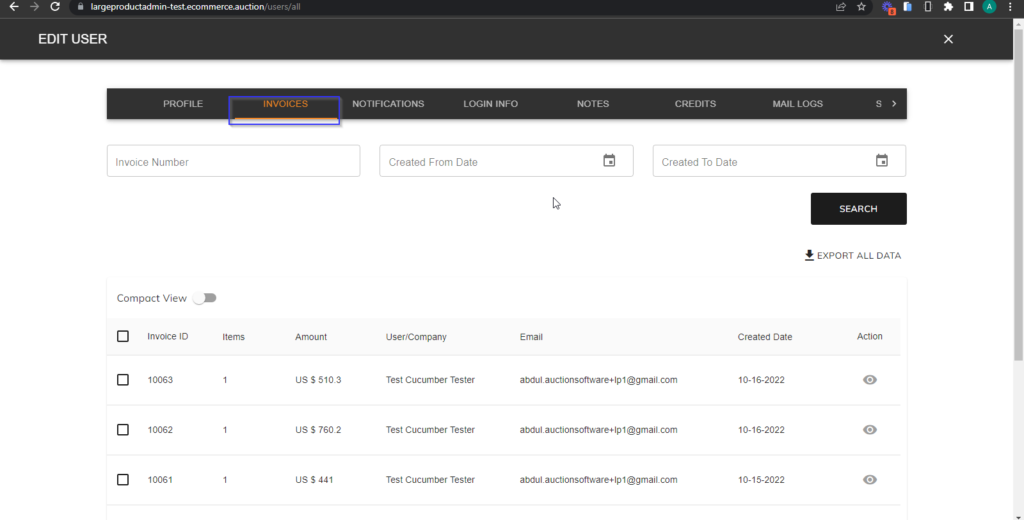
Invoice – Admin can view all the invoices of the respective users.
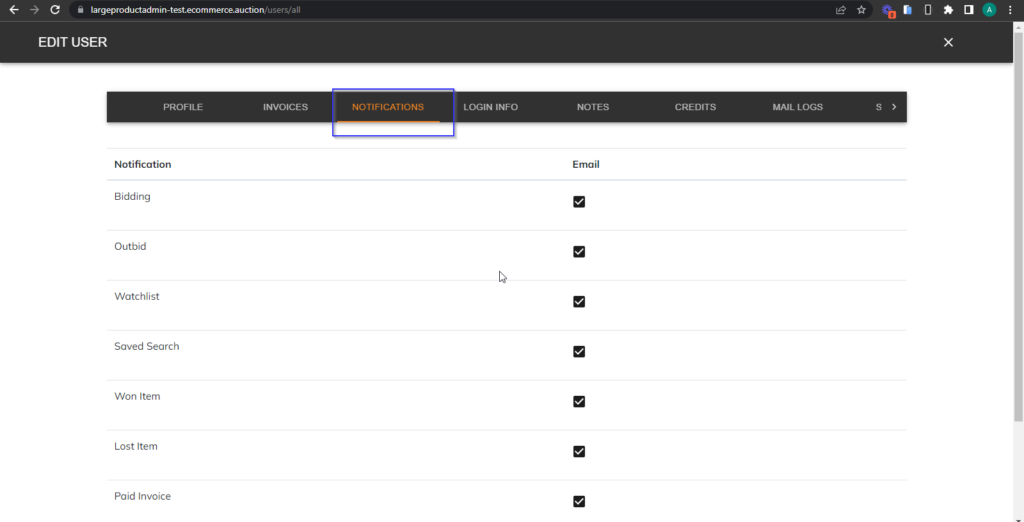
Notification – Admin can edit and update the notification preferences and only the respective notifications will be triggered to the users.
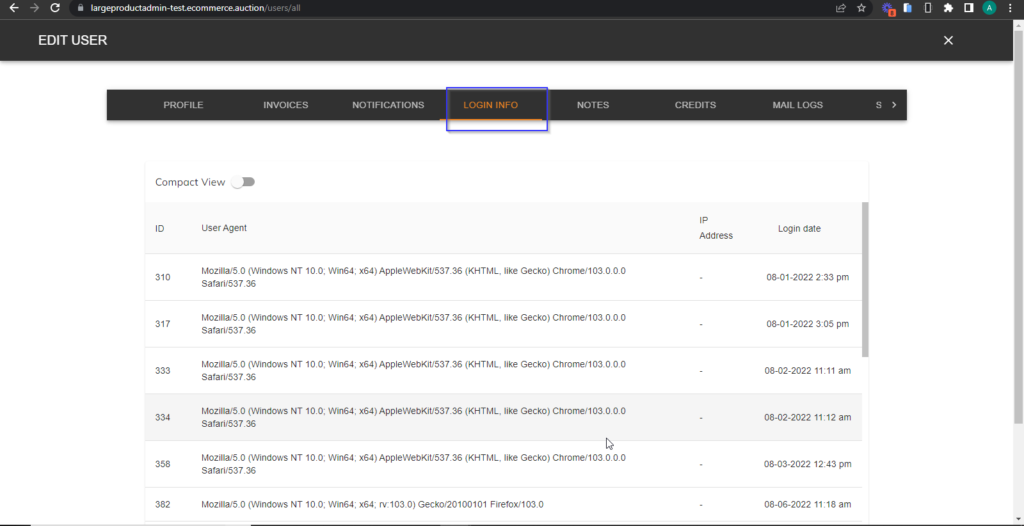
Login Info – Admin can see all the Login Time stamp of all Users.
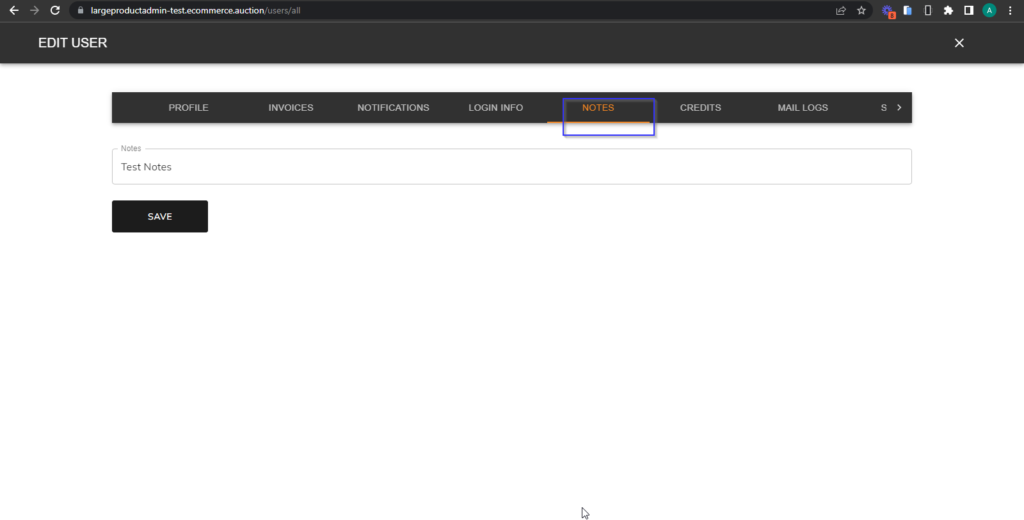
Notes – Admin user can add notes for all Users – it will be saved in the respective tab.
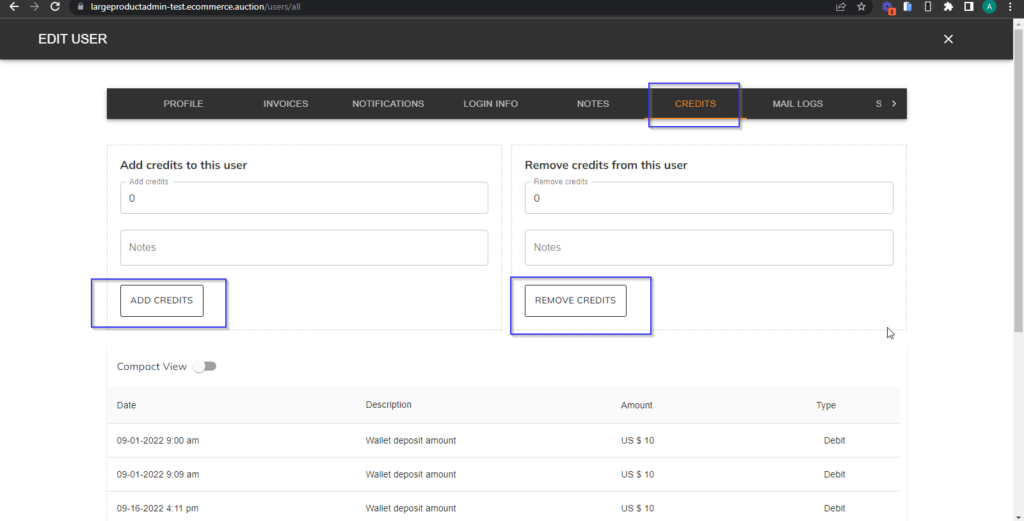
Credits – Admin user can add and remove Credits to the Users wallet. Users can use the Credits to purchase the Products.
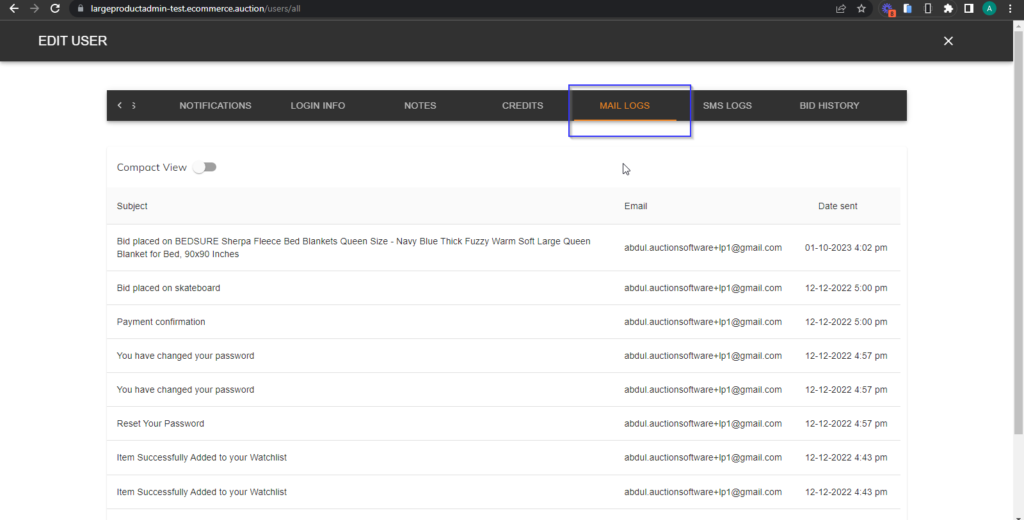
Mail Logs – Admin user can view the emails triggered to the Users with date and time.
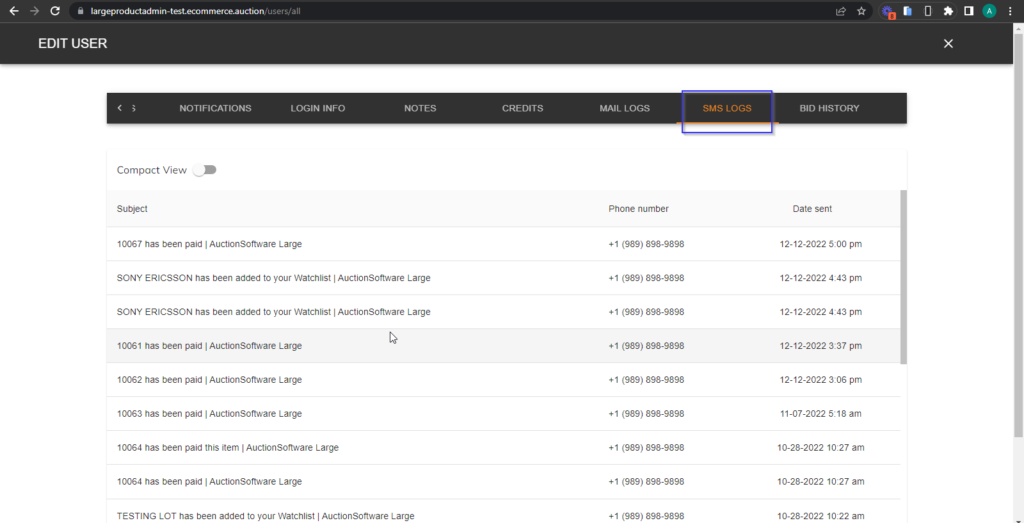
SMS Logs – Admin user can view the SMS triggered to the Users with date and time.
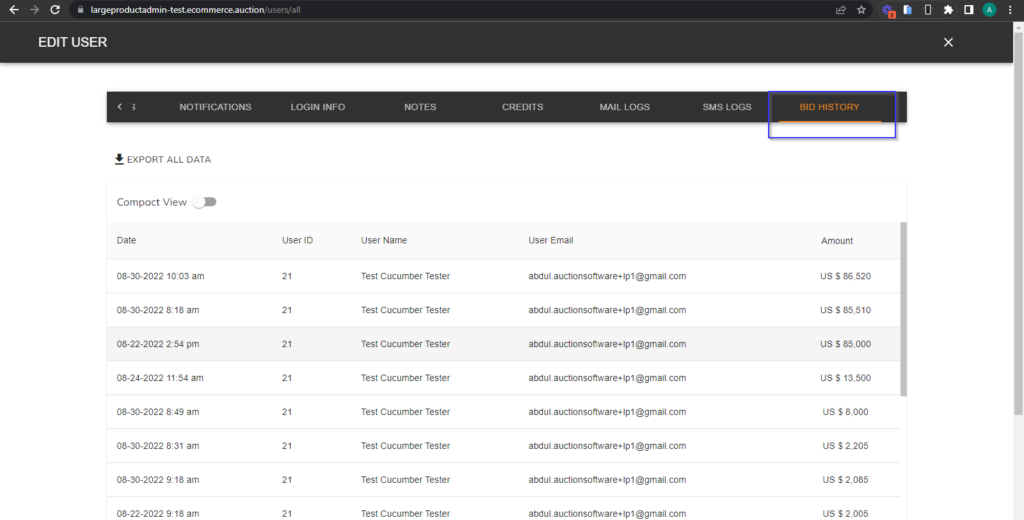
Bid History – Admin user can view Bid History for all the Products and for all Auctions.
3. Campaign Email
Description –
Admin User intimate and let the Customers know about new Auctions in the site. Based on the campaign, Users will get to know
- Click the Campaign tab and choose Email template to be sent to Customers.
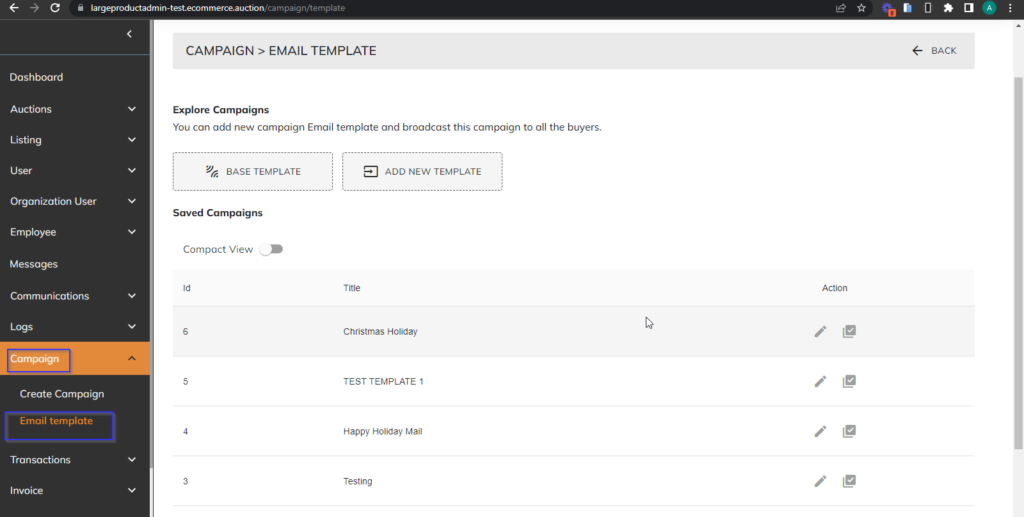
Base Template – In Base Template, Admin can create template to add new templates.
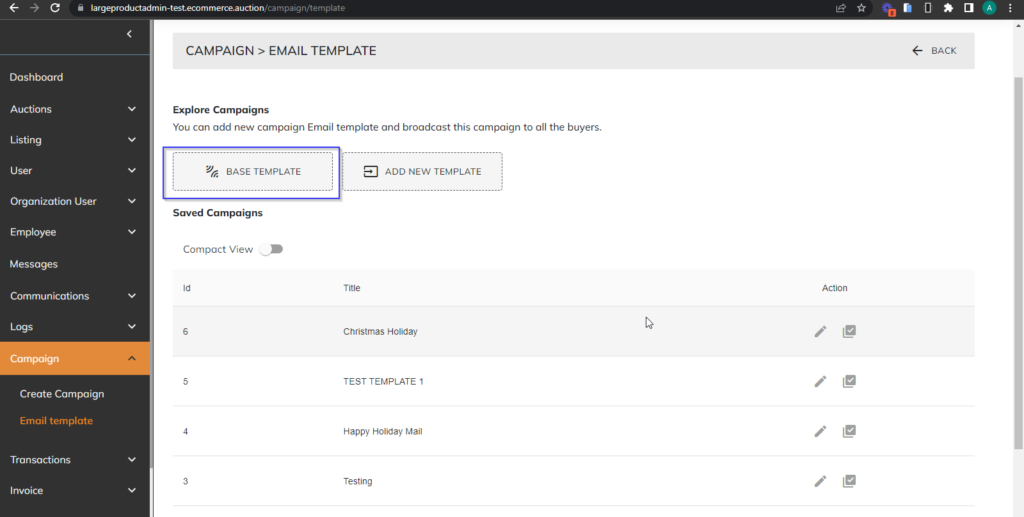
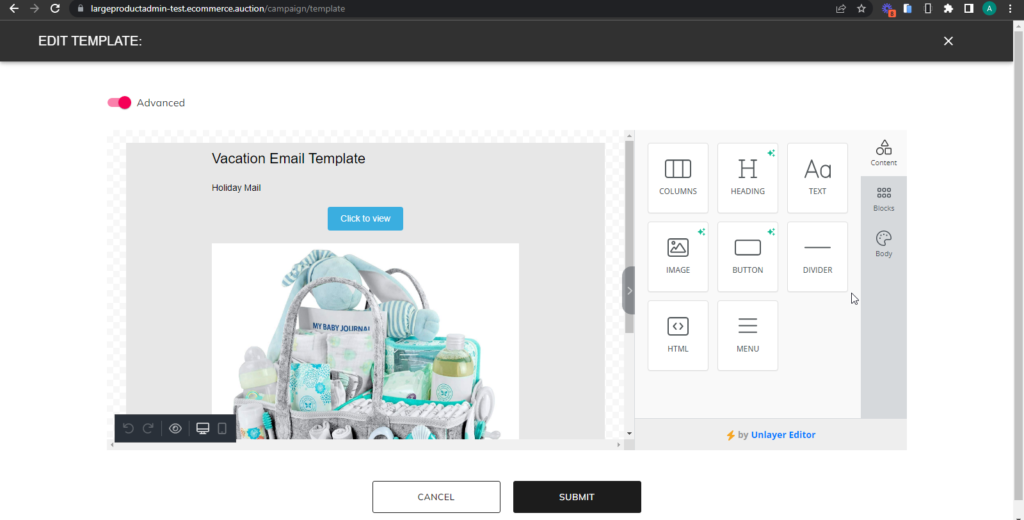
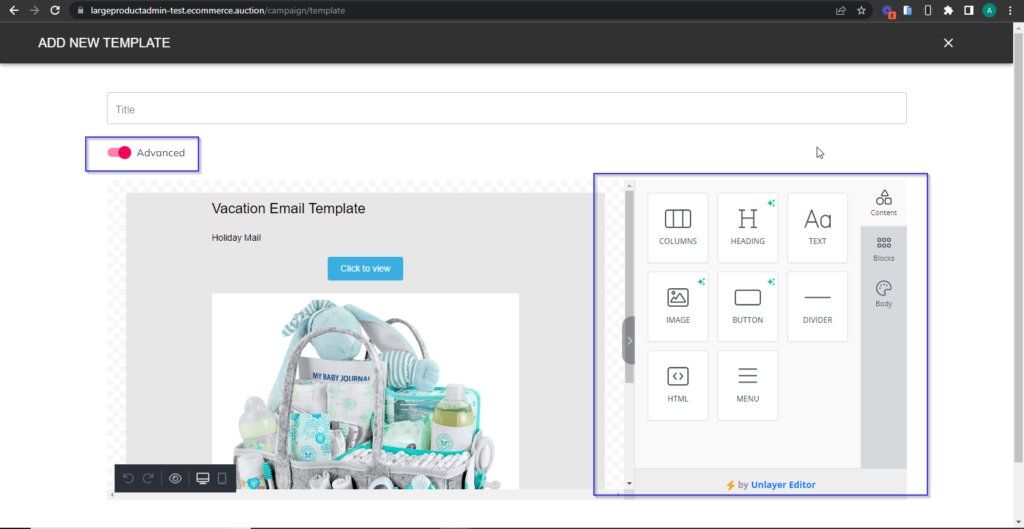
- Add New Template – Admin can also Add a New Template by clicking the advance toggle bar to modify the already created base template. The created template will display in the email template page
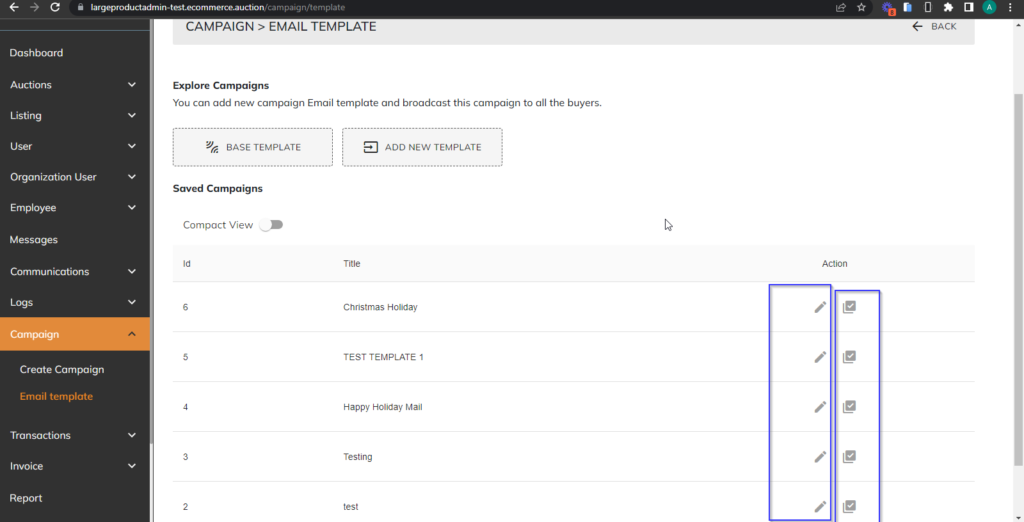
- Edit Icon – Admin can edit the existing templates.
- Try Template Icon – Admin can test whether the created email templates are working.
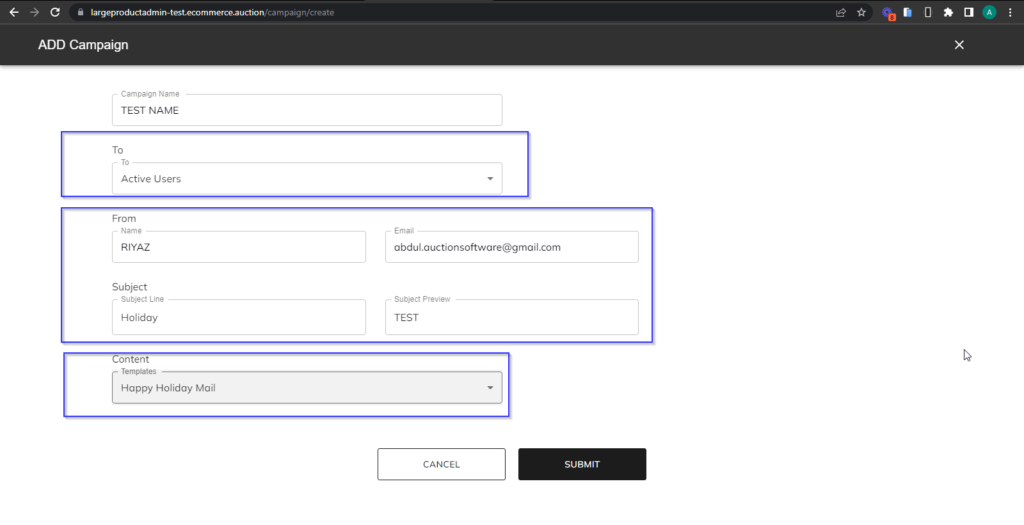
Create New Campaign – Admin can create the campaign to send the email to bulk users.
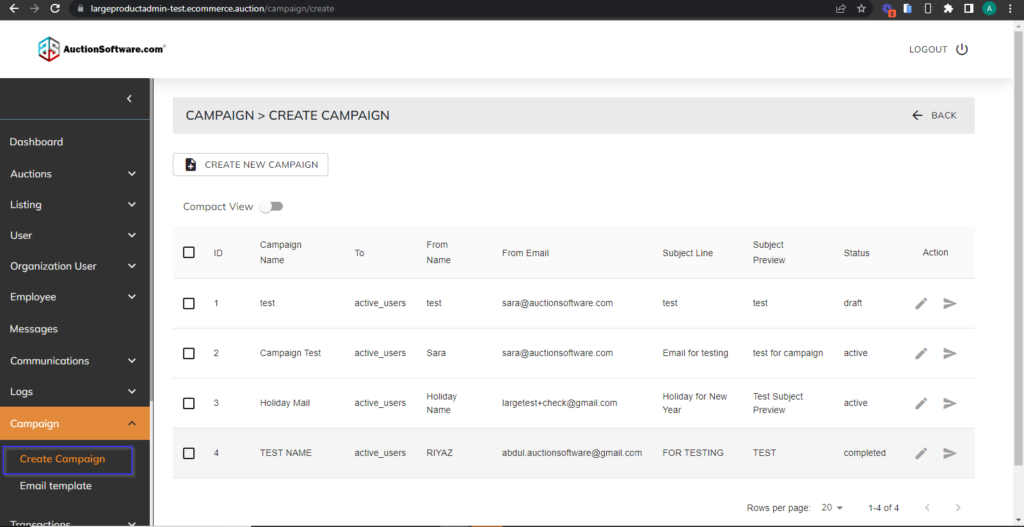
Admin user need to fill all the required details – From Address & To Address.
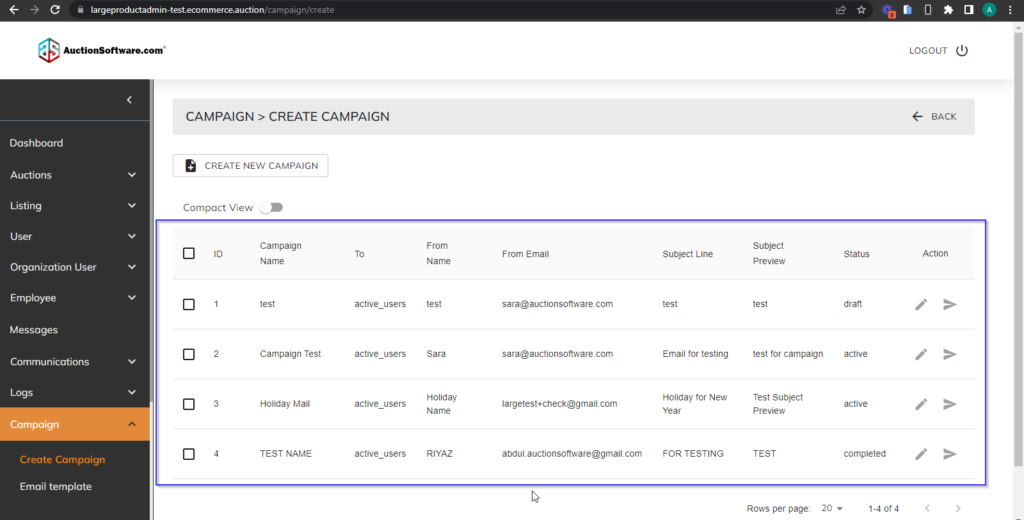
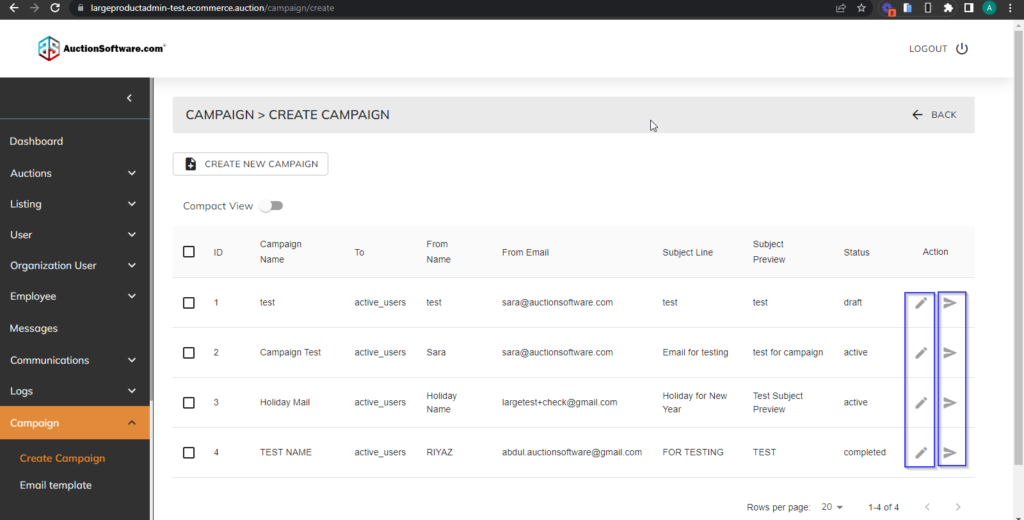
The added campaign will display in the create campaign data table page.
- Edit Icon – Admin can edit and change the values.
- Send Campaign Icon – Admin can send the created campaign email to the respective selected users.
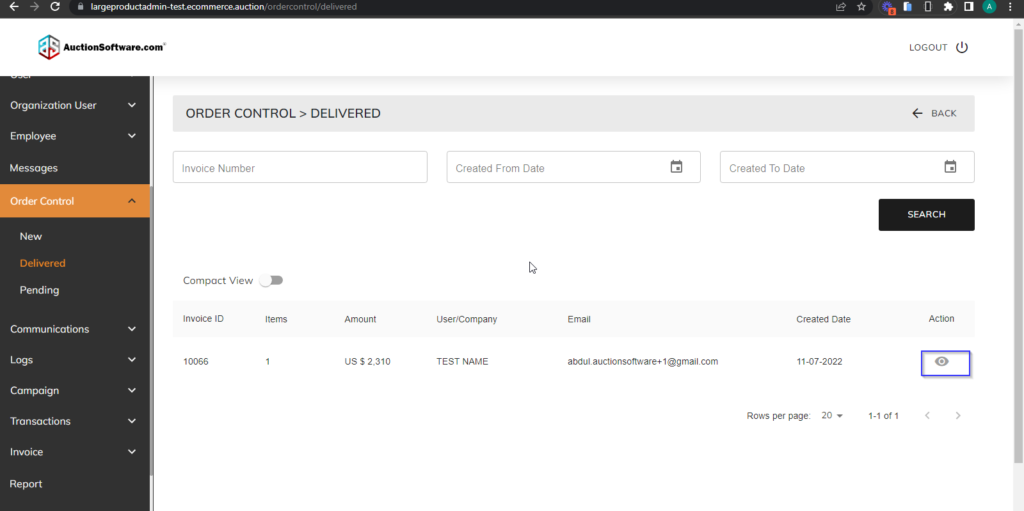
4. Order Control
Description –
Admin User can manage Orders and Order Status for the Products.
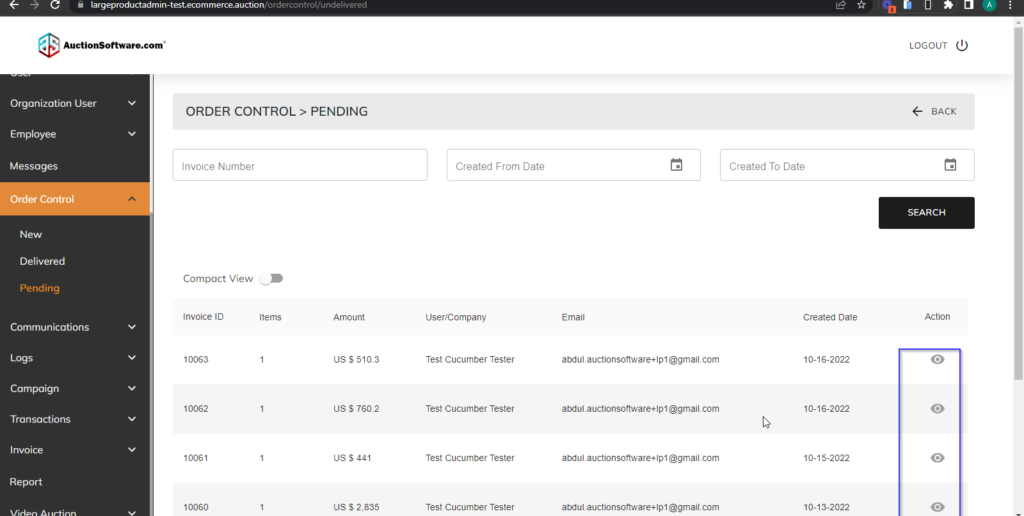
- Click Pending under the Order Control tab to view the pending orders of the user.
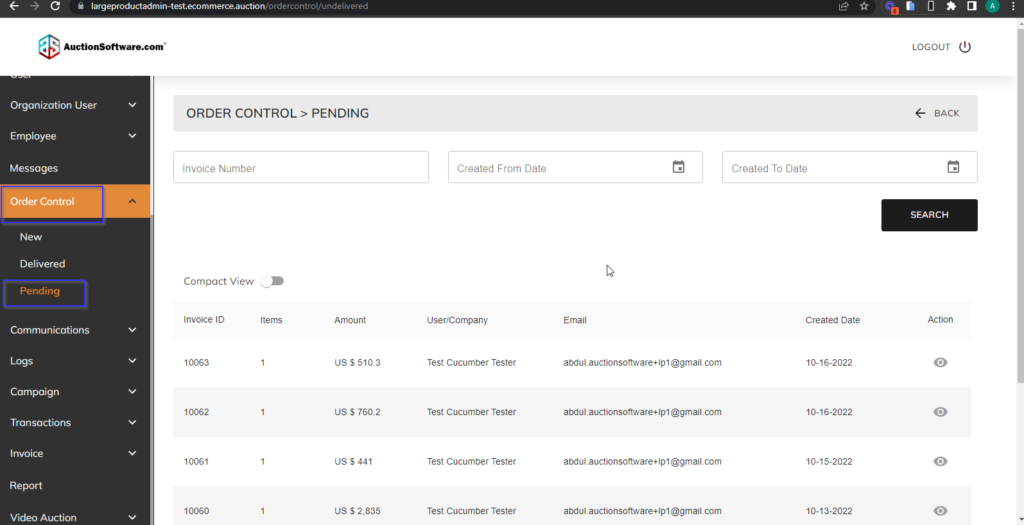
Pending Tab – Admin can see the Pending order status.
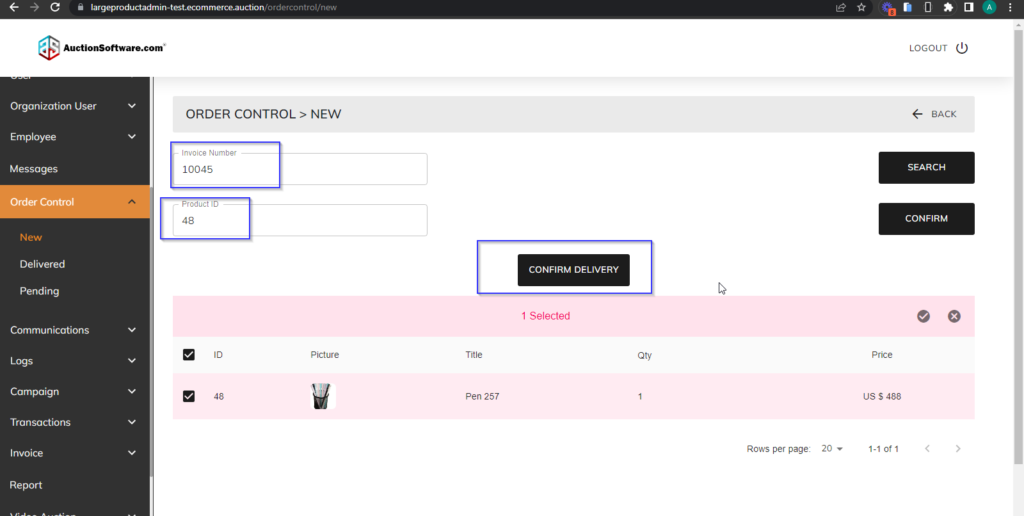
New Tab – Admin can search the Pending Invoice ID and Product to confirm the product delivery – by confirming the popup displayed.
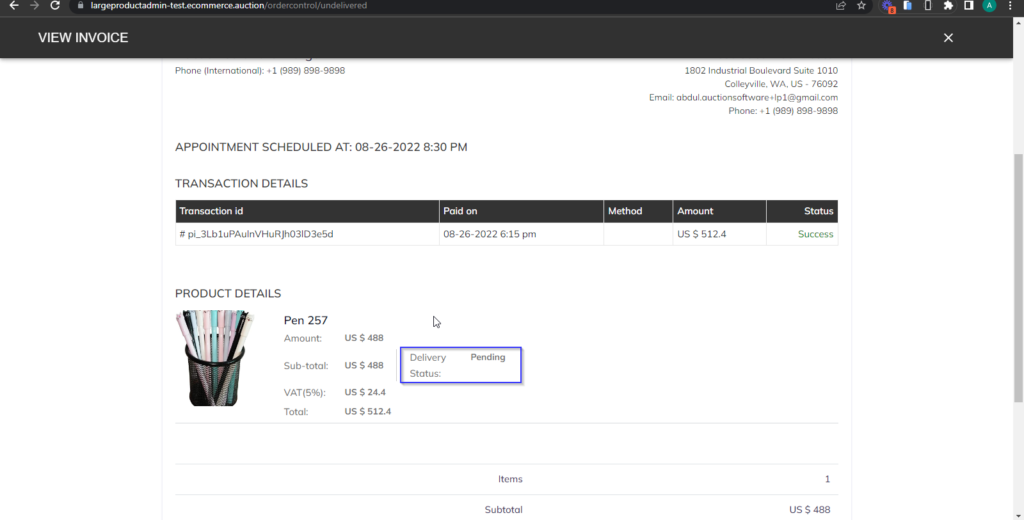
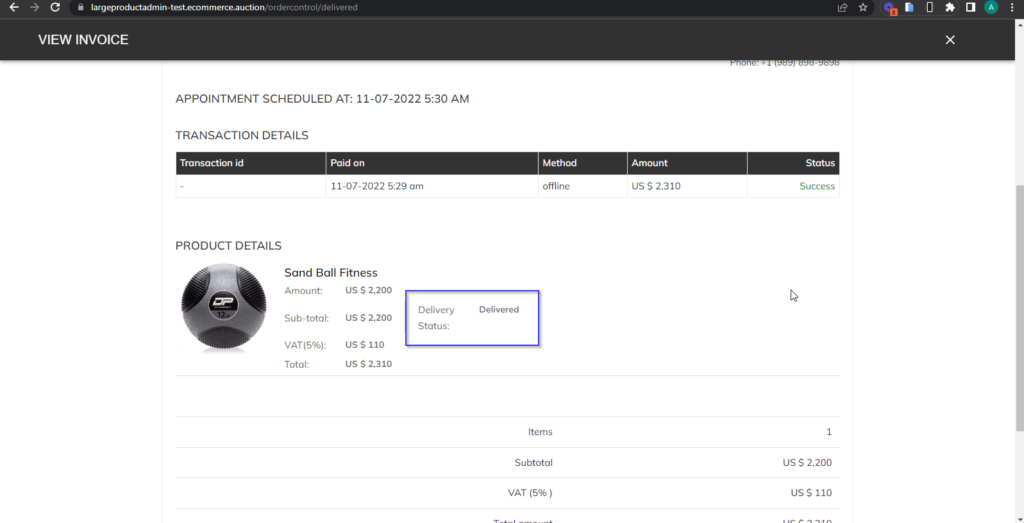
Delivered Tab – Admin can see the delivered Products and view the details.
5. ERP from Auction.io
Description –
Admin User can manage the Inventory using ERP.
- Admin can get the product details from other sites, e.g., Amazon using ASIN.
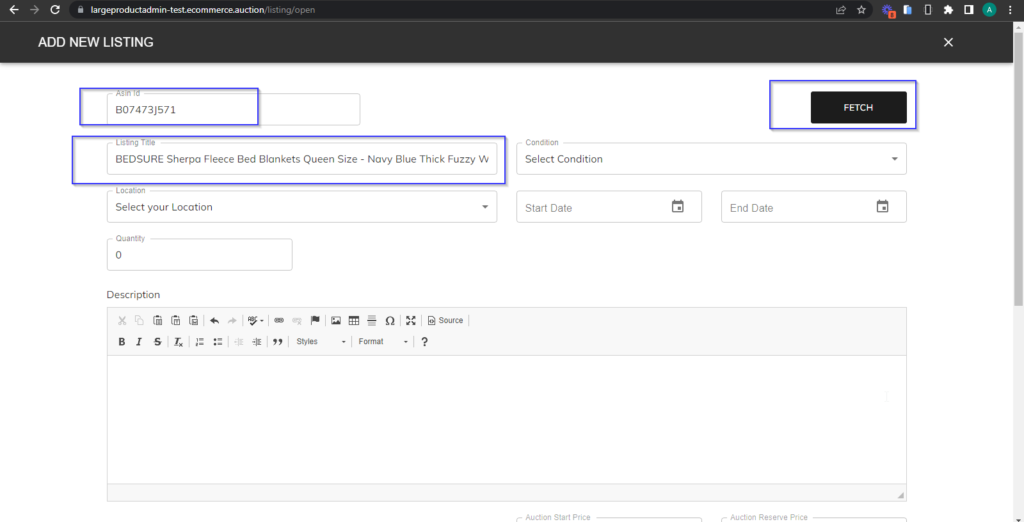
- Click Active under the listing tab and then click the add new single listing button.
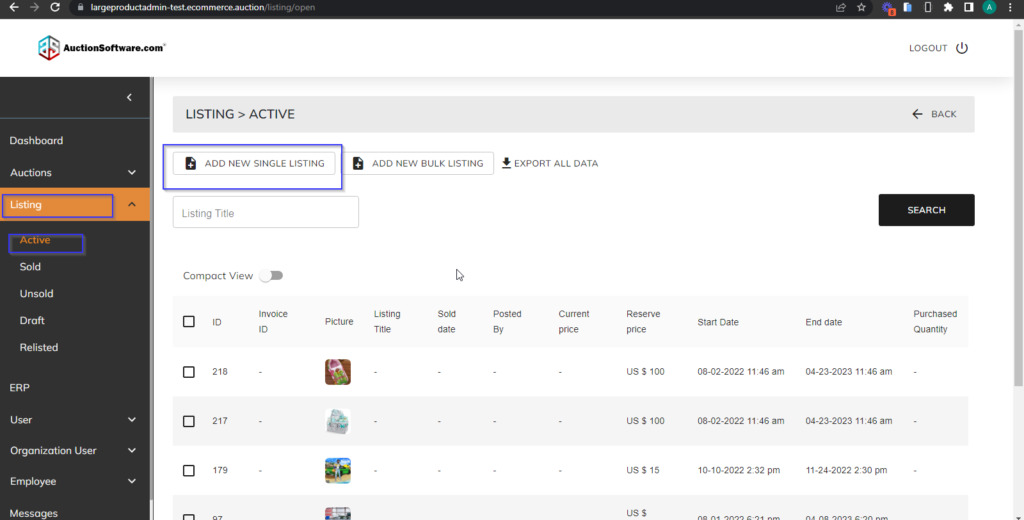
Add New Single Listing – Admin should enter the Amazon site product ASIN IDand fetch the Product details.
Recent Comments